
A single leaf can cause significant shading on a solar panel, reducing the output of the affected panel or string, which may lower overall system efficiency by up to 10-25%, depending on the system’s architecture (e.g., series vs. parallel, use of optimizers or micro-inverters). These “hot spot” issues plague many solar system owners, especially in dusty or tree-shaded areas. Hot spots not only spike your electricity bills but can also shorten panel lifespan or, in rare cases, spark fires. The good news? You can diagnose and fix most hot spot problems with 5 simple steps, no advanced skills needed. In this guide, we’ll explain what hot spots are, why they’re a problem, and how to restore your solar system’s efficiency while preventing future issues. Let’s dive in!
What Are Hot Spots in a Solar System?
Hot spots occur when part of a solar panel overheats due to shading (like leaves or dust) or a defective cell, causing concentrated heat that can reach 20-30°C above surrounding areas. This happens because blocked cells resist current flow, forcing electricity to build up as heat. According to the U.S. Department of Energy, hot spots can reduce panel efficiency by 10-25% and damage cells over time, cutting panel lifespan from 25 years to as little as 8-15 years. In extreme cases, they may pose fire risks.
Hot spots are common in residential and commercial systems, especially in regions with dust or tree cover. For example, a homeowner’s system might lose efficiency due to leaf buildup on a single panel, impacting the entire string in a series-connected setup. Modern panels use bypass diodes to divert current and reduce hot spots, but older or low-quality systems may still struggle.
Why Hot Spots Need Immediate Attention
Hot spots aren’t just a minor annoyance—they hit your wallet and system longevity. A single hot spot can cut your system’s output by up to 25%, reducing savings on electricity bills or payments from schemes like the UK’s Smart Export Guarantee. Prolonged overheating can cause cell delamination or junction box damage, with repair costs reaching $500-$1000. Worst-case scenario? Hot spots in poorly maintained systems can ignite fires, especially in dry climates.
For instance, a homeowner might find their system underperforming due to bird droppings creating hot spots. Cleaning can restore power in hours. Acting fast prevents minor issues from becoming costly repairs, protecting your solar investment.
5 Steps to Diagnose and Fix Hot Spot Issues
No need to panic—most hot spot issues can be resolved with these 5 DIY-friendly steps. Follow them carefully, and always prioritize safety. If the problem persists, we’ll guide you on when to call a pro.
Step 1: Check for Shading or Debris
Shading from leaves, bird droppings, or dust is the top cause of hot spots. Even partial shading on one panel can disrupt an entire string in series-connected systems.
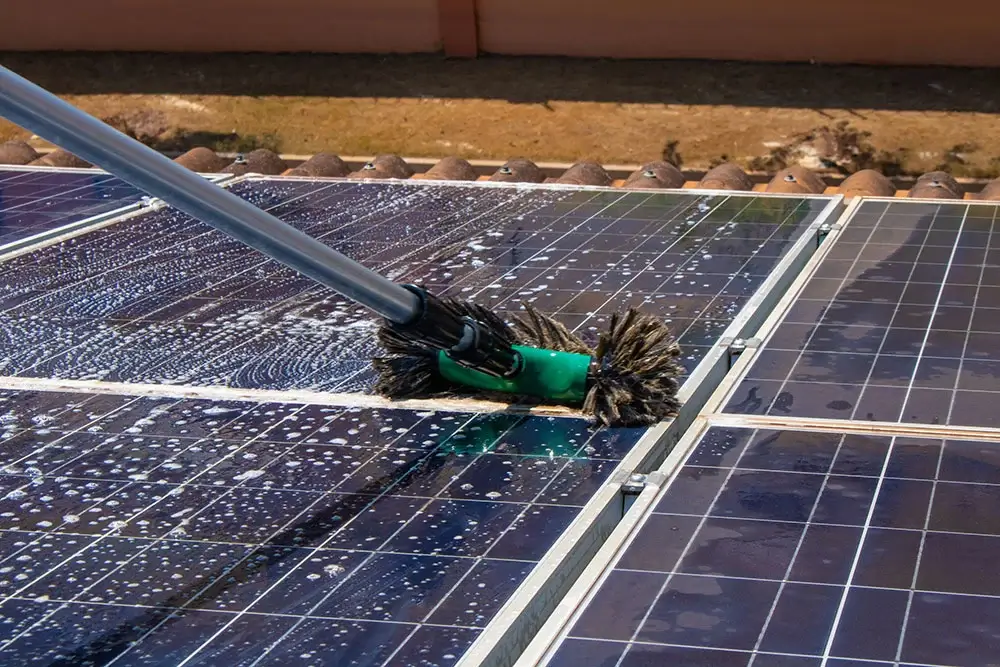
DIY Fix: Inspect all panels for debris. Use a soft brush or low-pressure water to clean (avoid high-pressure hoses to prevent scratches). Check your inverter’s output afterward to confirm improvement.
Safety Tip: Clean during early morning or evening to avoid thermal shock to hot panels.
Step 2: Look for Overheating Signs
Hot spots create localized high temperatures, often 20-30°C hotter than the rest of the panel. You can spot them with a thermal imaging camera (affordable models start at $100) or by carefully observing for signs like discoloration or burn marks.
DIY Fix: Scan panels with a thermal camera or check for visible discoloration or burn marks. Take photos of suspect spots for reference.
Safety Tip: Never touch panels directly—solar systems carry high-voltage DC current.
| Cause | Impact | DIY Fix | Professional Fix |
|---|---|---|---|
| Leaves/Bird Droppings | 10-25% efficiency loss | Clean with soft brush/water | Inspect junction box |
| Defective Cell | Potential fire risk | Measure voltage | Replace panel |
| Failed Bypass Diode | Worsened hot spots | Check inverter output | Test/replace diode |
Step 3: Inspect Bypass Diodes
Modern panels have bypass diodes to redirect current and minimize hot spots. However, diodes in older or low-quality panels may fail, amplifying the problem.
DIY Diagnostic: Check your inverter display for abnormal output (e.g., one panel showing low voltage) to detect possible diode failure. If suspected, power off the system and consult a professional to test diodes with a multimeter.
Safety Tip: DC systems are dangerous—leave diode testing to certified technicians.
Step 4: Verify System Output
Use a multimeter to measure panel voltage and compare it to the manufacturer’s specs. Alternatively, check your monitoring app or cloud-based system for anomalies, like one panel underperforming.
DIY Fix: Record voltage for each panel or string. If a panel’s output is significantly low, it may have a hot spot or internal defect. Cross-check with your system’s manual for expected values.
Safety Tip: Disconnect the system before testing to avoid electric shock.
Step 5: Call a Professional
If cleaning and basic checks don’t resolve the issue, you may have a damaged junction box, defective cell, or diode failure. These require specialized tools like advanced thermal imaging or current tracing. High-voltage DC systems and rooftop work are risky, so avoid DIY repairs in these cases.
DIY Fix: Contact an MCS-certified technician or your panel manufacturer. Provide photos, voltage data, or thermal images to speed up diagnosis. Expect repair costs of $100-$500 per panel, depending on damage.
Safety Tip: Never attempt high-voltage or rooftop repairs—leave it to professionals.
How to Prevent Hot Spot Issues
Fixing hot spots is great, but preventing them saves time and money. Here’s how:
- Regular Cleaning: Clean panels every 3-6 months, especially in dusty or tree-heavy areas, to boost efficiency by up to 20%.
- Optimize Placement: During installation, avoid shading from trees or buildings by choosing open, sunny locations.
- Choose Quality Panels: Opt for half-cut cell panels or those with advanced bypass diodes, which reduce hot spot risks. For example, recent perovskite panels from companies like GCL Optoelectronic show improved hot spot resistance.
- Install Monitoring Systems: Cloud-based monitoring detects temperature or output anomalies early. A solar project used real-time monitoring to catch hot spots, saving thousands in repairs.
The International Renewable Energy Agency emphasizes maintenance as key to long-term solar performance, so make these habits routine.
Conclusion
Hot spots can steal your solar system’s power and damage your panels, but with these 5 steps—checking for debris, spotting overheating, verifying diodes, measuring output, and seeking pros when needed—you can restore efficiency fast. Regular cleaning, smart placement, and monitoring keep hot spots at bay, protecting your investment. Start inspecting your panels today, and don’t let a leaf cost you hundreds! Explore more solar tips on our blog.
FAQ: Common Questions About Solar Panel Hot Spots
What causes hot spots on solar panels?
Hot spots are caused by shading (leaves, dust, bird droppings), defective cells, or failed bypass diodes, leading to localized overheating.
Can hot spots damage my solar panels permanently?
Yes, prolonged hot spots can cause cell delamination or junction box damage, shortening panel lifespan by 10-15 years.
How often should I clean my solar panels to prevent hot spots?
Clean every 3-6 months, especially in dusty or shaded areas, to maintain efficiency.
Are newer solar panels less prone to hot spots?
Yes, half-cut cell panels and those with advanced bypass diodes (e.g., perovskite panels) are more resistant.
When should I call a professional for hot spot issues?
If cleaning doesn’t help or you suspect cell/diode damage, contact an MCS-certified technician for safe repairs.
Leave a Comment